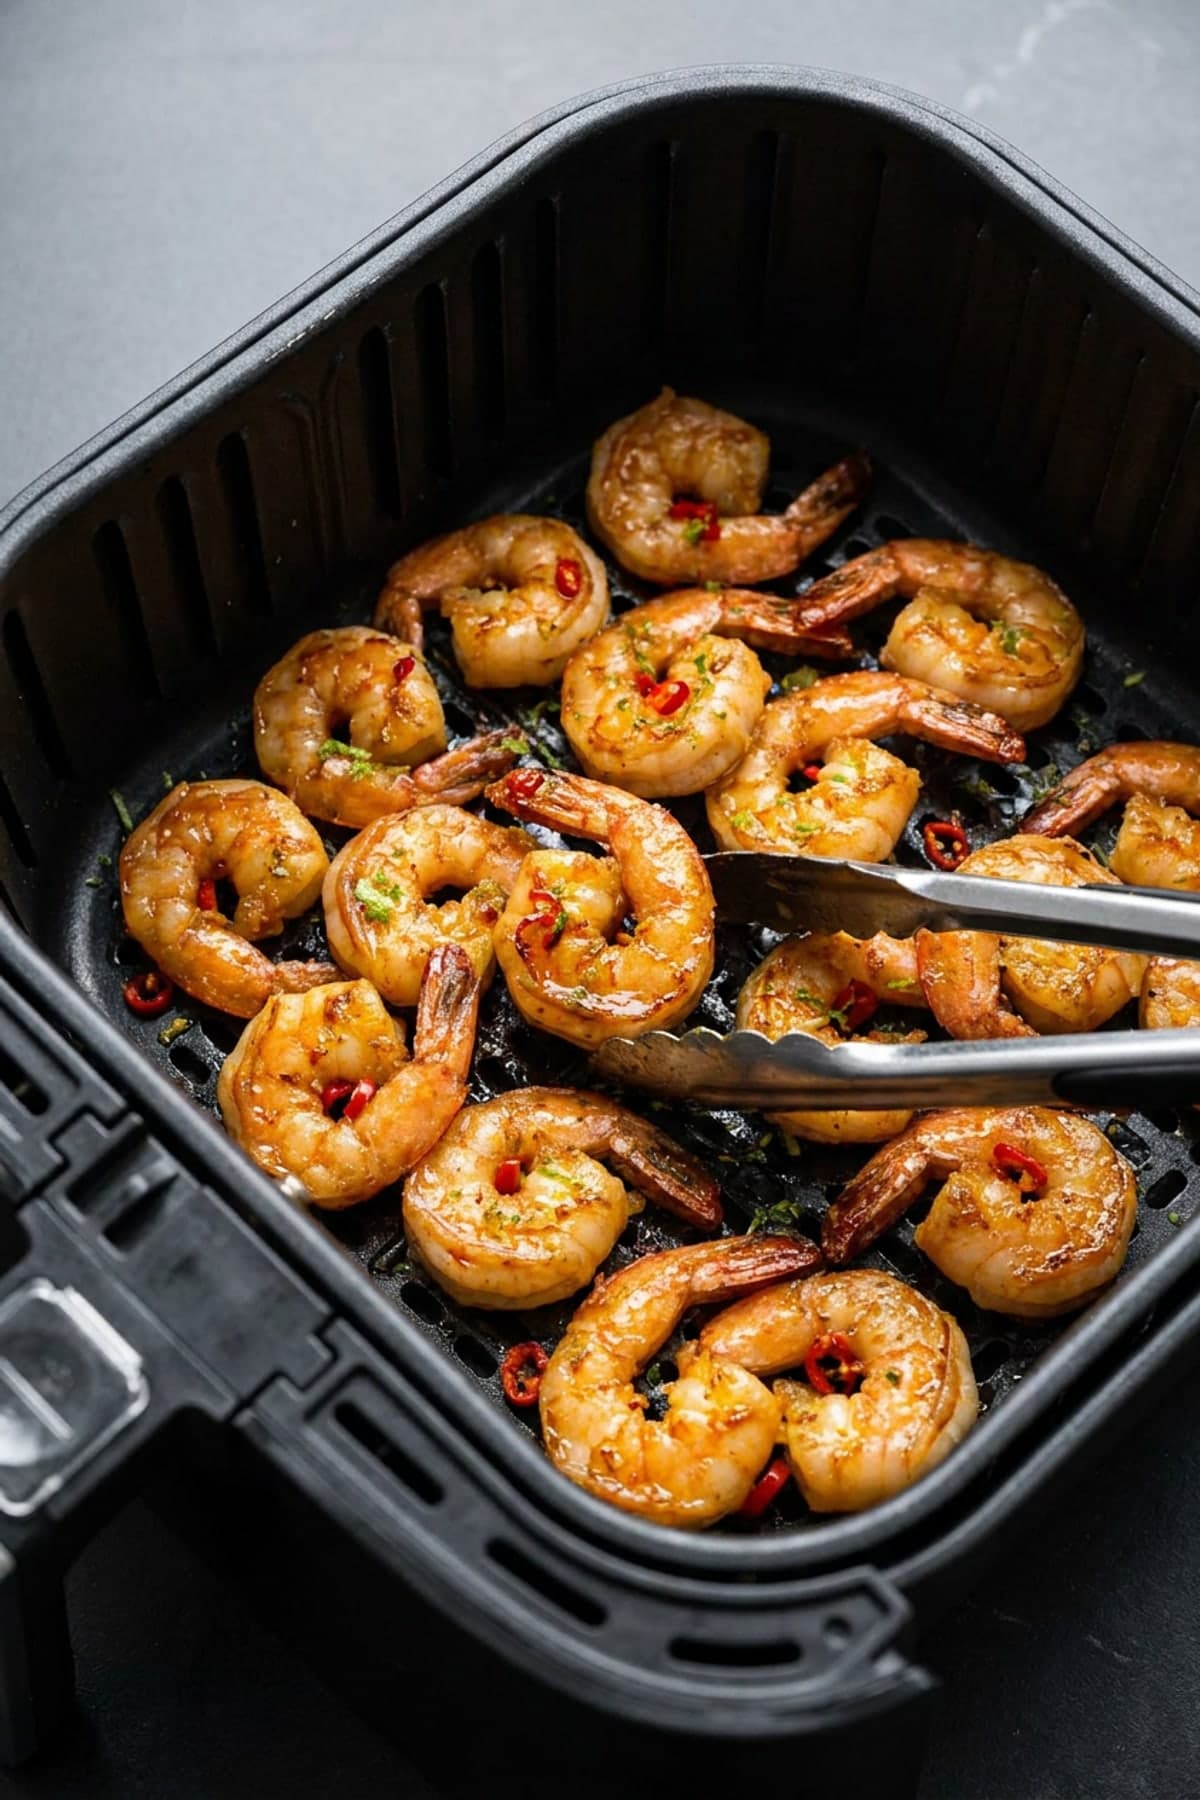
Air Fryer Chili Lime Shrimp
22 min total4 servings15 min prep7 min cookMethod: Air Fryer
- Quick
- Air fryer
A reliable batch of chili lime shrimp starts with size and sequence. Jumbo shrimp, lime zest, chili powder, garlic, cumin, and cilantro are measured for the stated vessel, while the lime juice and cilantro are reserved.
Hands-on time is 15 minutes across 22 minutes total. The cleanup count is 2 dishes, the basket and one mixing bowl. Use opaque curled shrimp with lightly bronzed edges and juicy centers as the finish signal. Keep the basket in a single layer with 1 inch between pieces. Work in two batches when needed; crowded food traps moisture and weakens browning.
Why this works
- The longest-cooking pieces are cut to a deliberate size. Quick ingredients wait until the final interval, preserving color, shape, and recognizable texture.
- The finish does not depend only on a timer. Look for opaque curled shrimp with lightly bronzed edges and juicy centers. This checkpoint accounts for appliance and ingredient differences.
- Sauce or seasoning develops in the cooking vessel. Deliberate spacing reliably gives moisture a route away while preserving enough liquid for the scheduled method.
Ingredients
- 1 1/2 pounds peeled deveined jumbo shrimp (680 g)
- 1 tablespoon avocado oil
- 2 teaspoons chili powder
- 1 teaspoon garlic powder
- 1/2 teaspoon ground cumin
- 3/4 teaspoon fine salt (4.5 g)
- 1 teaspoon finely grated lime zest
- 1 tablespoon lime juice
- 1/3 cup chopped cilantro (10 g)
- 1 lime, cut into wedges (70 g)
- 1 tablespoon water, only if needed
Ingredient notes
- Shrimp: Choose pieces close in thickness and size. Uniform weight alone does not guarantee they will finish together, so trim or separate unusually large portions before loading.
- Main flavor base: jumbo shrimp, lime zest, chili powder, garlic, cumin, and cilantro. Measure strong seasonings rather than shaking them over the vessel. This keeps the sauce balanced after moisture reduces or the surface browns.
- Liquid and fat: Use the exact amounts in the recipe card. Too much liquid weakens browning or dilutes the sauce; too little can leave dense ingredients exposed before they become tender.
- Quick finish: Add the lime juice and cilantro only at the stated stage. Their job is to provide fresh flavor, smooth texture, or retained color after the longer cooking phase is complete.
- Sizing rule: Cut vegetables to the dimensions described in the ingredient list and separate joined pieces. Consistent thickness narrows the finish window without creating an unnatural, perfectly arranged batch.
How to make Chili Lime Shrimp
Prepare the measured components
Cut and measure every ingredient before switching on the appliance. Keep the lime juice and cilantro in a separate bowl for the finishing stage. Pat moisture from the shrimp when appropriate. The main pieces should be naturally varied but close enough in thickness to share a realistic finish window.
Load with deliberate spacing
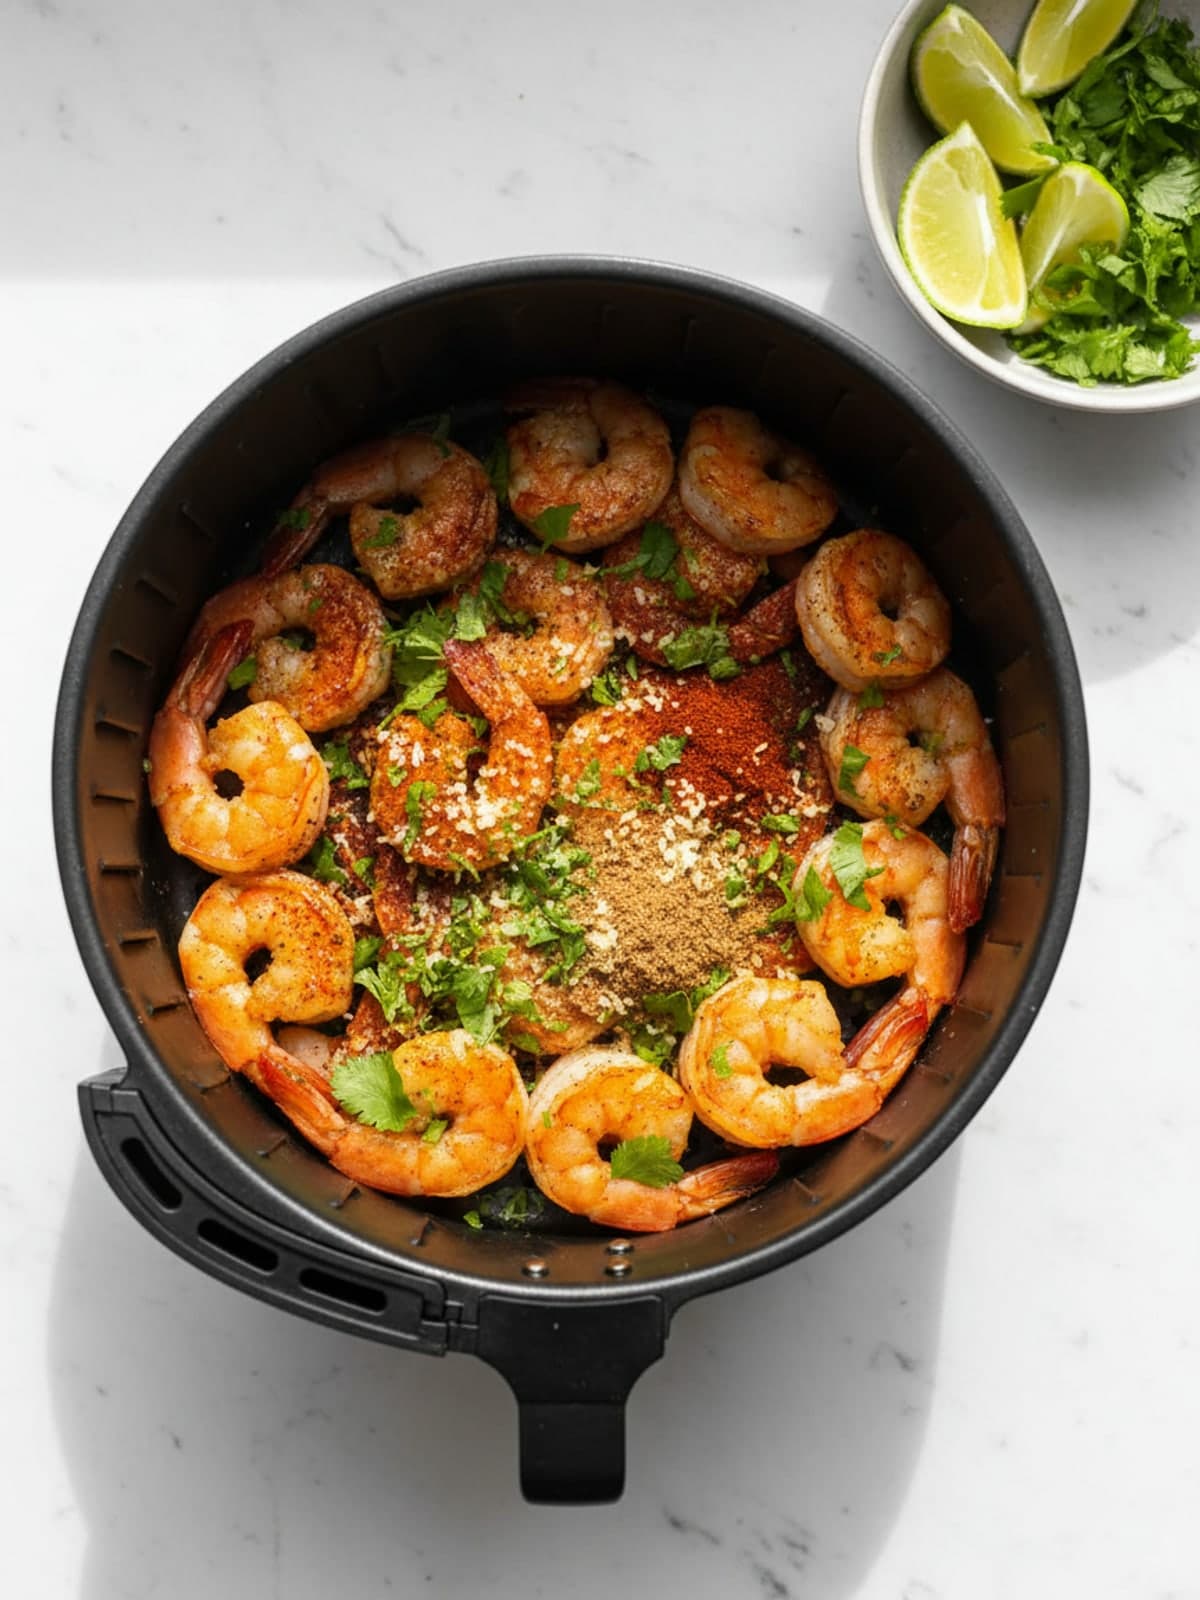
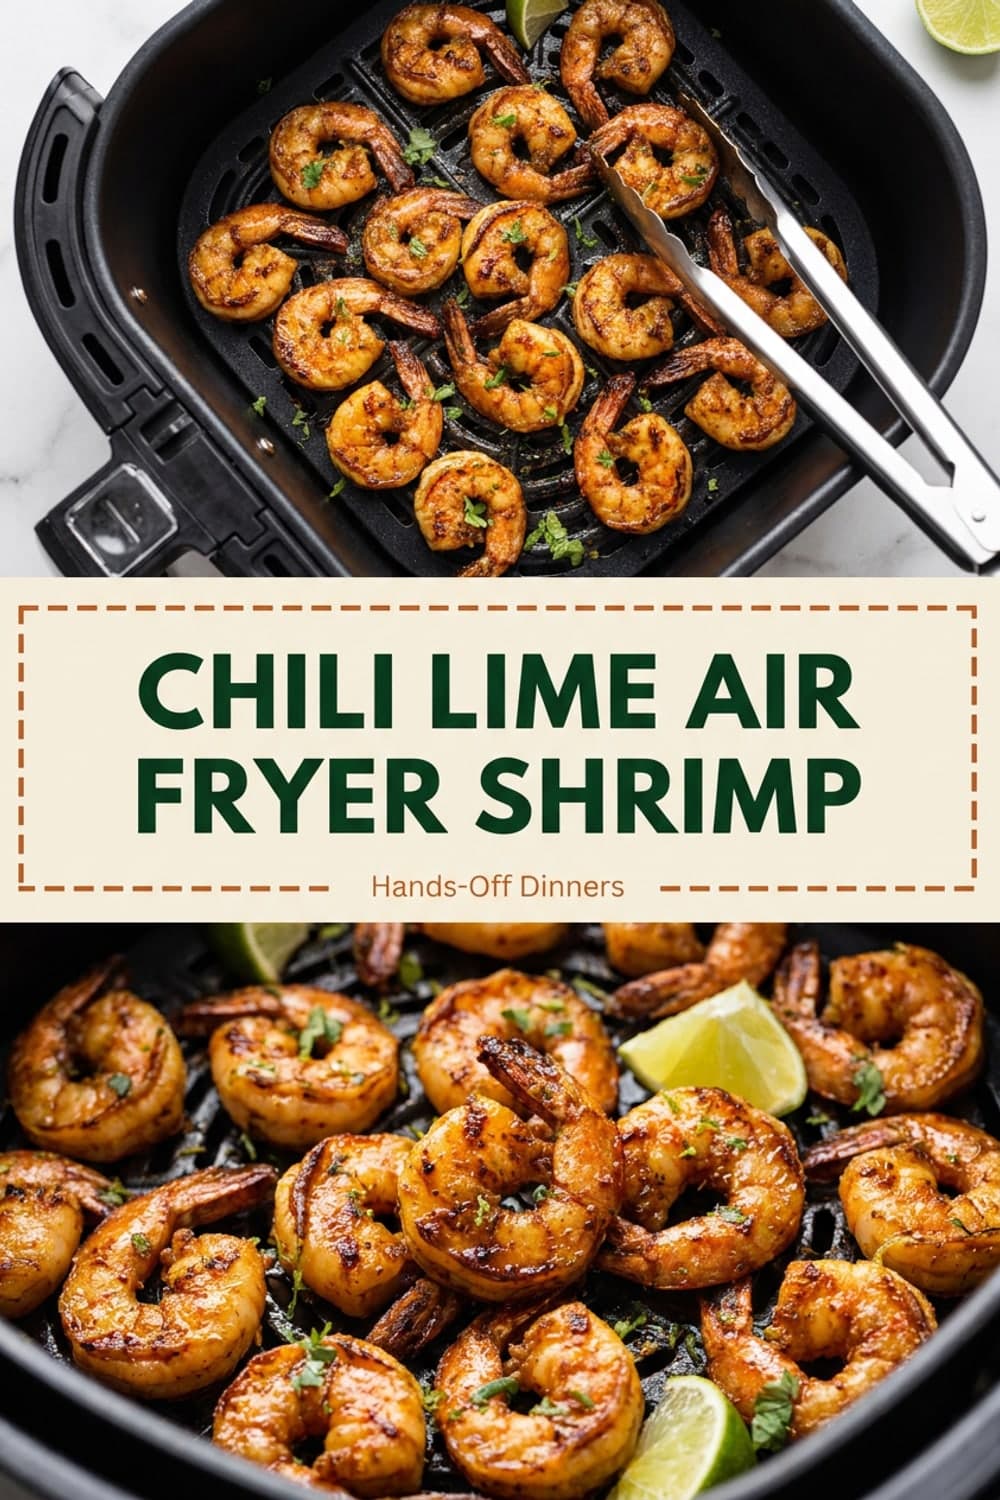
Pat the shrimp dry and combine it with the measured oil and dry seasonings. Turn until every piece has a thin, glossy coating without wet pools. Arrange the pieces in the black perforated air-fryer basket. Keep the basket in a single layer with 1 inch between pieces. Work in two batches when needed; crowded food traps moisture and weakens browning. Keep thicker pieces toward the hotter outer zone.
Cook to the visual checkpoint
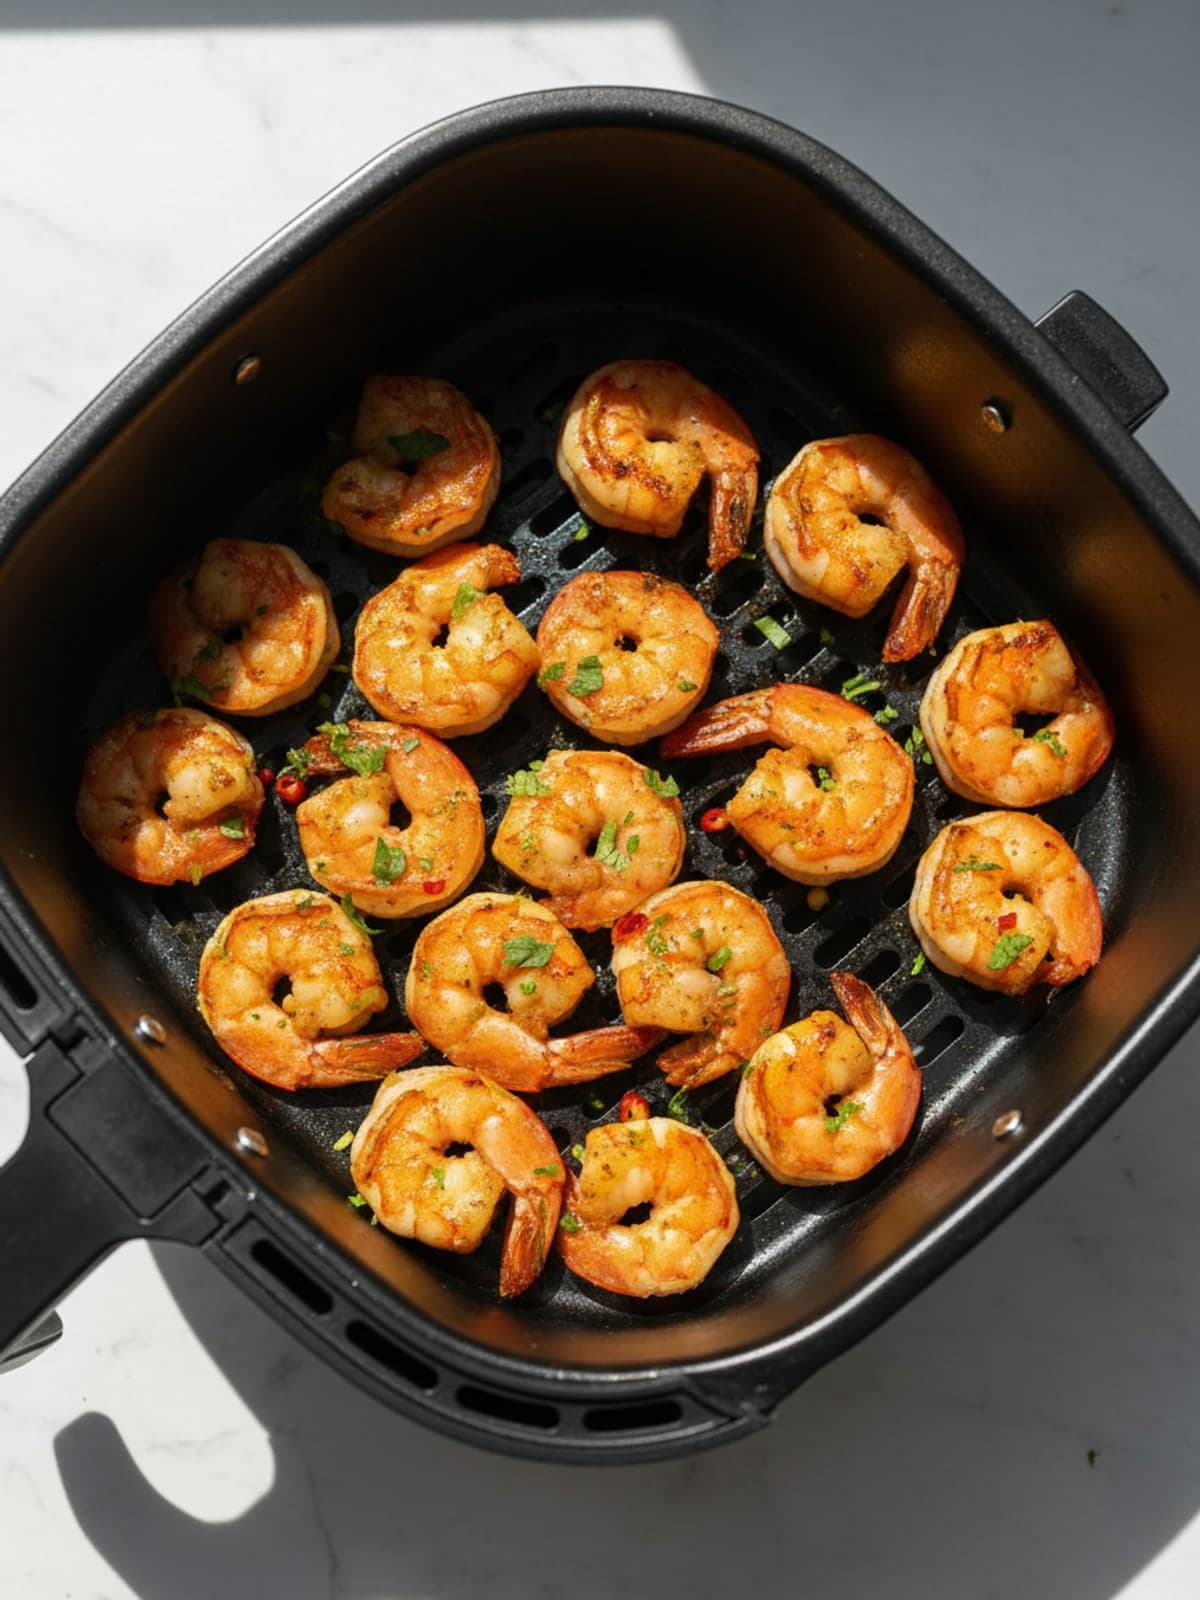
Air fry at 390°F (200°C) for 4 to 7 minutes. Check at the early point. The decisive cue is opaque curled shrimp with lightly bronzed edges and juicy centers. Remove ready pieces individually instead of waiting for identical color.
Finish without overworking
Add the lime juice and cilantro at the point directed in the card. Fold or toss only until evenly distributed; aggressive stirring can break tender vegetables, pasta, seafood, or meat fibers. Check the final texture against opaque curled shrimp with lightly bronzed edges and juicy centers. Adjust thickness with a small measured splash of stock or water only when necessary.
Portion while the texture is clear
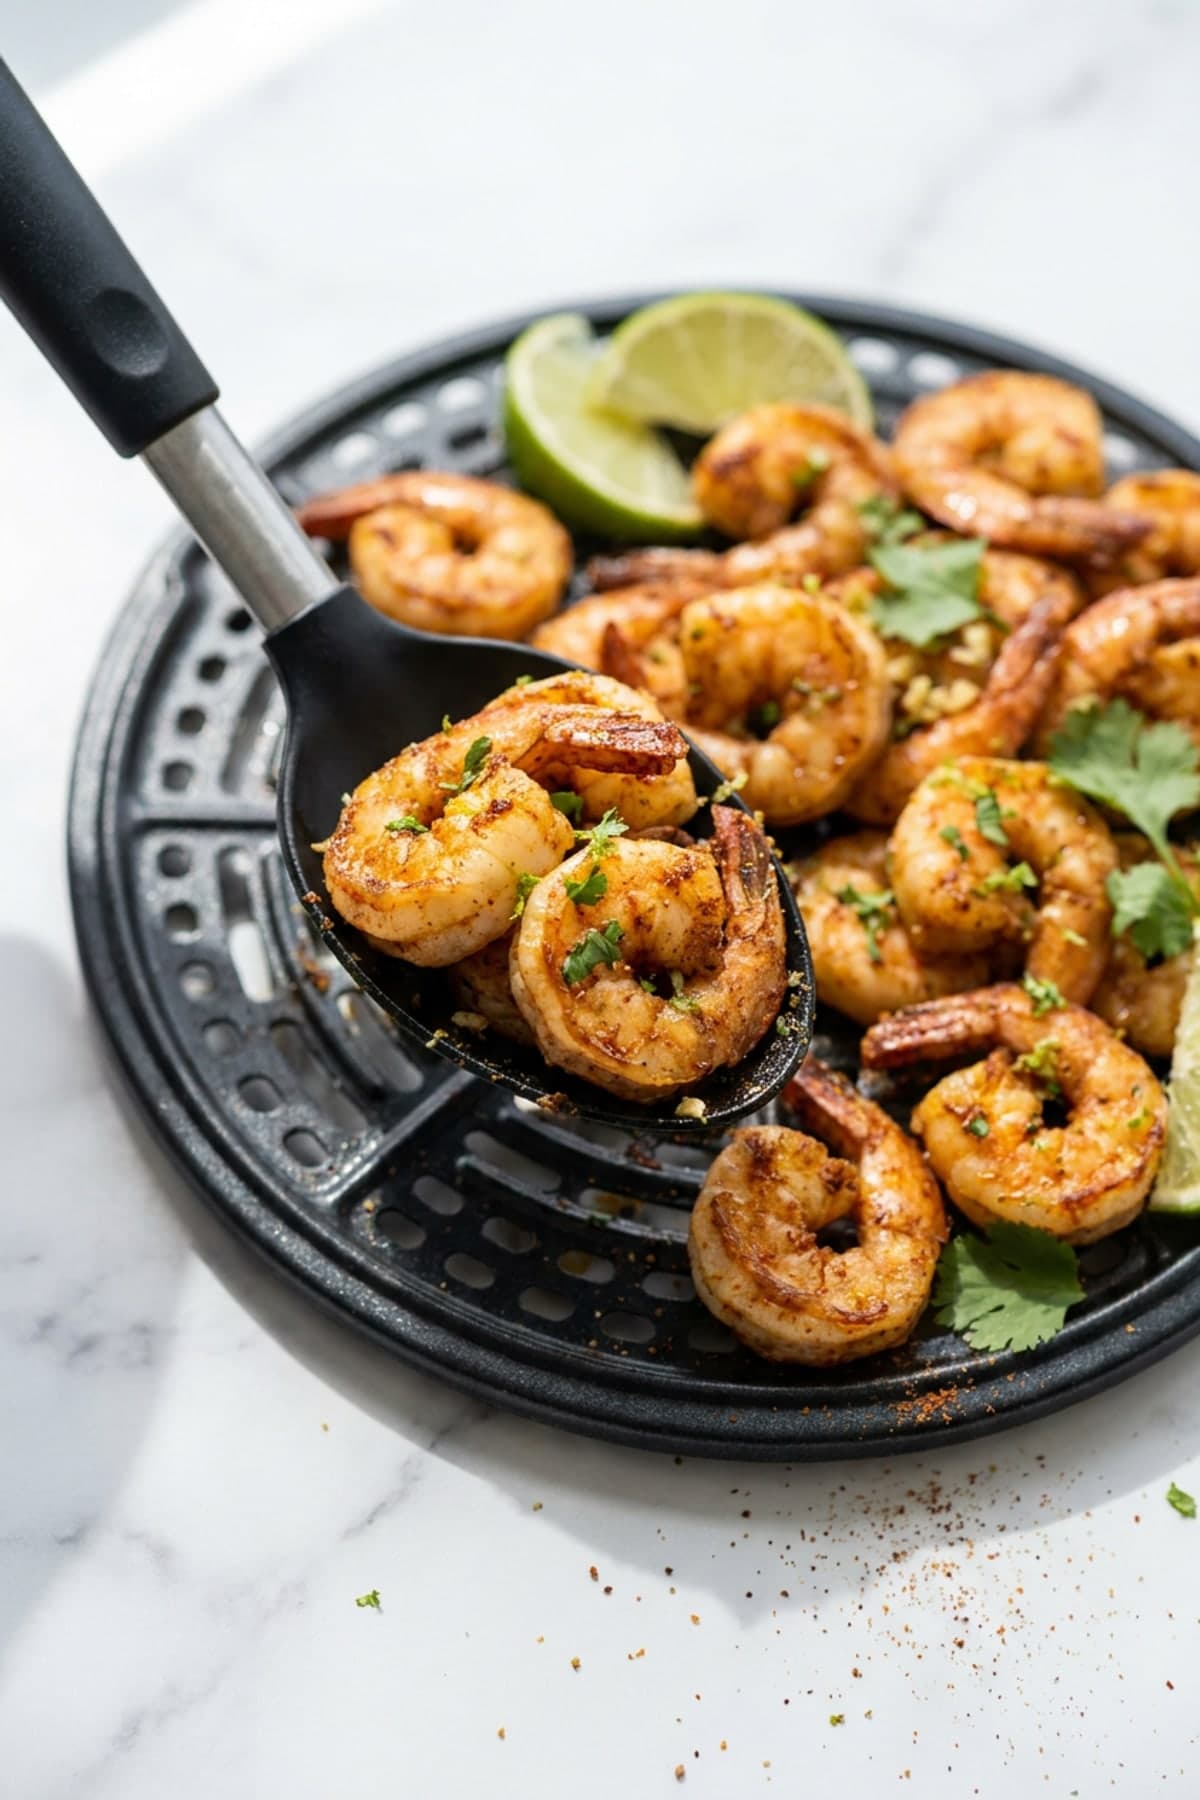
Move the food to plates or shallow bowls while the finish cue remains easy to see. Divide the shrimp and vegetables before spooning over remaining sauce. Inspect the thickest portion and the pieces from the appliance's hotter zone separately. If one is ready first, remove it rather than extending the complete batch.
The recipe
Chili Lime Shrimp
PrintJumbo shrimp, lime zest, chili powder, garlic, cumin, and cilantro cook on a precise appliance schedule, with deliberate spacing and a visible texture cue that makes the finish straightforward to judge.
Course: Main Course · Cuisine: Mexican Inspired
- Prep
- 15 min
- Cook
- 7 min
- Total
- 22 min
- Yield
- 4 servings
Nutrition Facts
Per serving. Recipe yield: 4 servings.
- Calories
- 164 kcal
- Protein
- 34.7 g
- Carbs
- 5.1 g
- Fat
- 1.7 g
- Fiber
- 1 g
- Sugar
- 0.5 g
- Sodium
- 681 mg
For 2 servings, scaled from the per-serving figures. Recipe yield: 4 servings.
- Calories
- 328 kcal
- Protein
- 69.4 g
- Carbs
- 10.2 g
- Fat
- 3.4 g
- Fiber
- 2 g
- Sugar
- 1 g
- Sodium
- 1362 mg
For 3 servings, scaled from the per-serving figures. Recipe yield: 4 servings.
- Calories
- 492 kcal
- Protein
- 104.1 g
- Carbs
- 15.3 g
- Fat
- 5.1 g
- Fiber
- 3 g
- Sugar
- 1.5 g
- Sodium
- 2043 mg
Ingredients
Instructions
- Prepare. Cut and measure all ingredients. Reserve the lime juice and cilantro for the final stage. Keep the main shrimp pieces close in thickness, patting away excess surface moisture when needed for browning.
- Arrange. Load the sturdy ingredients and measured liquid or oil into the black perforated air-fryer basket. Keep the basket in a single layer with 1 inch between pieces. Work in two batches when needed; crowded food traps moisture and weakens browning. Keep quick-cooking additions out until their directed interval.
- Cook. Air fry at 390°F (200°C) for 4 to 7 minutes. Check at the early point. The decisive cue is opaque curled shrimp with lightly bronzed edges and juicy centers. Remove ready pieces individually instead of waiting for identical color.
- Finish. Add the lime juice and cilantro. Fold, toss, or thicken gently until the finish is even. Stop when the food shows opaque curled shrimp with lightly bronzed edges and juicy centers; adjust sauce consistency with a small measured liquid addition only if needed.
- Serve. Divide the main pieces first, then spoon vegetables and sauce around them. Check the thickest portion separately. Serve promptly, keeping any crisp toppings or citrus separate until the plate reaches the table.
Notes
- Use similar-thickness pieces so the finish window stays narrow and the early checkpoint remains meaningful.
- The stated cook allowance includes every pressure release, sauce adjustment, or final thickening interval.
- Refrigerate leftovers promptly in shallow covered containers, and add fresh herbs, citrus, or crisp finishing ingredients only after reheating.
- air fryer shrimp recipes
- air
- fryer
- chili
- lime
- shrimp
Tips
- Match thickness before matching weight. The thickest piece controls the useful timing window.
- Keep the stated spacing around food and the appliance. Crowding changes texture before it changes flavor.
- Measure finishing liquid in small additions. A loose sauce can tighten; an over-thinned one is harder to recover.
- Check at the early time, especially with a smaller or newer appliance that may cook more aggressively.
- Use the visual cue—opaque curled shrimp with lightly bronzed edges and juicy centers—before extending the schedule. Minutes are a guide, not the only evidence.
- Record which appliance zone finishes first. That observation makes the next batch easier to check.
Serving and storage
Serve chili lime shrimp with a crisp green salad, steamed rice, toasted bread, or a simply seasoned vegetable, choosing the side that fits the sauce. Divide the main pieces first so each serving receives a fair share. Keep crunchy toppings and citrus wedges separate until the table. The recipe yields 4 servings. A plain side can be prepared during the appliance interval without adding another complicated cooking task.
Questions people ask
How do I keep chili lime shrimp from cooking unevenly?
Use pieces of similar thickness, follow the stated spacing rule, and check the hottest zone first. Remove ready portions individually when practical. Extending the entire batch for one thick piece can dry or soften everything else.
Can I prepare chili lime shrimp ahead?
Measure and cut sturdy ingredients one day ahead, then refrigerate them separately. Keep seasonings, quick-cooking additions, and liquids apart until loading. This preserves the intended layering and prevents salt or acid from changing the main ingredient texture overnight.
Ratings and reviews
No ratings yet. If you have cooked this, yours would be the first.
Thank you. Your rating has been counted.
You have already rated this recipe, so this one was not counted.
Please choose between one and five stars.
Reviews are limited to 600 characters. Nothing was saved.
Names are limited to 40 characters. Nothing was saved.
That is a lot of ratings in one hour. Please try again later.
Before you go
Air Fryer Chili Lime Shrimp earns its place by making the finish visible and the cleanup count explicit. The appliance carries the long interval; the final texture check handles normal variation between models and ingredient sizes. Save the method for a night when dinner needs a clear schedule and very little active attention.
Save this for later
Chili Lime Air Fryer Shrimp
Tags
- air-fryer-shrimp-recipes
- air-fryer
- shrimp-recipe
- easy-dinner
Read next
Slow Cooker
- One pot
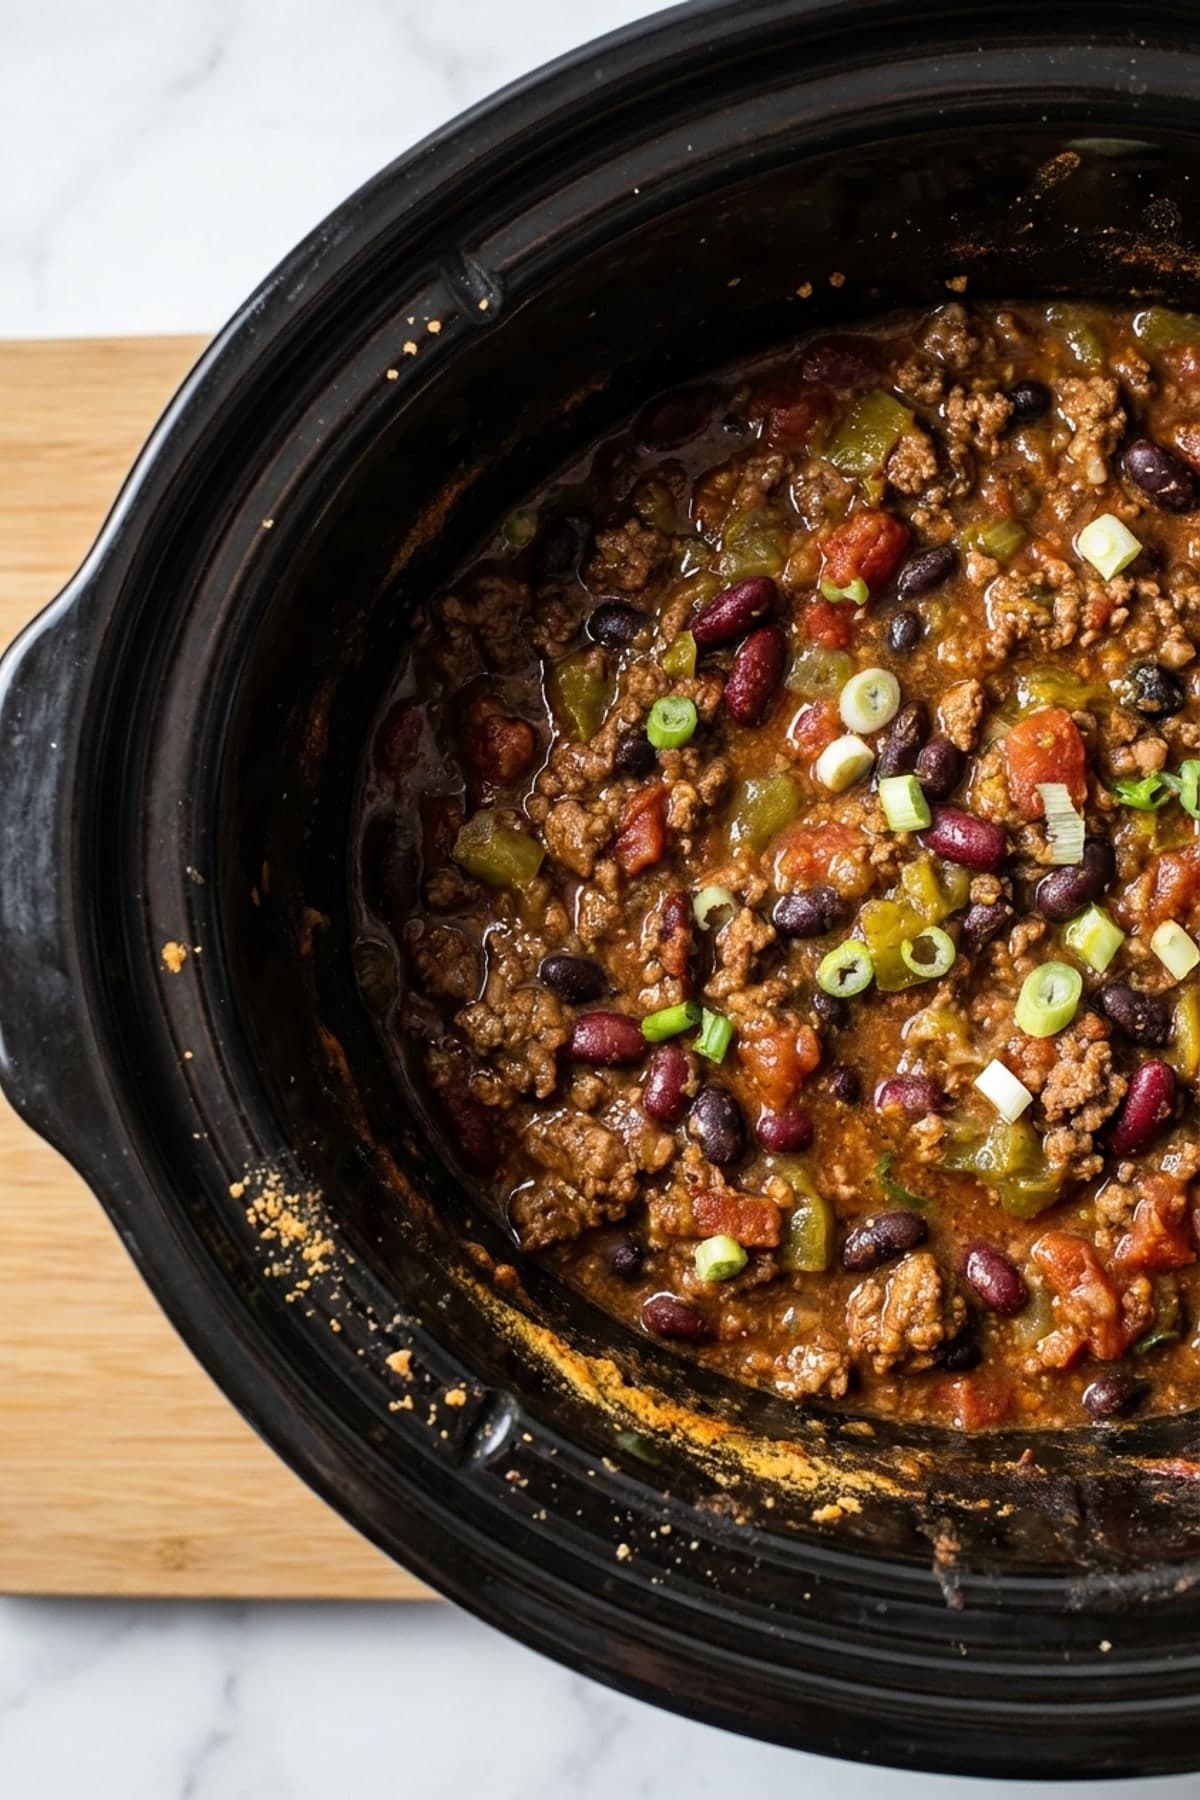
Ground Beef Crockpot Chili with Two Beans
5 hr 20 min total6 servings20 min prep5 hr cook
Ground beef crockpot chili cooks with two beans, tomatoes, and toasted spices. One microwave browning step keeps the flavor deep and cleanup contained.
Slow Cooker
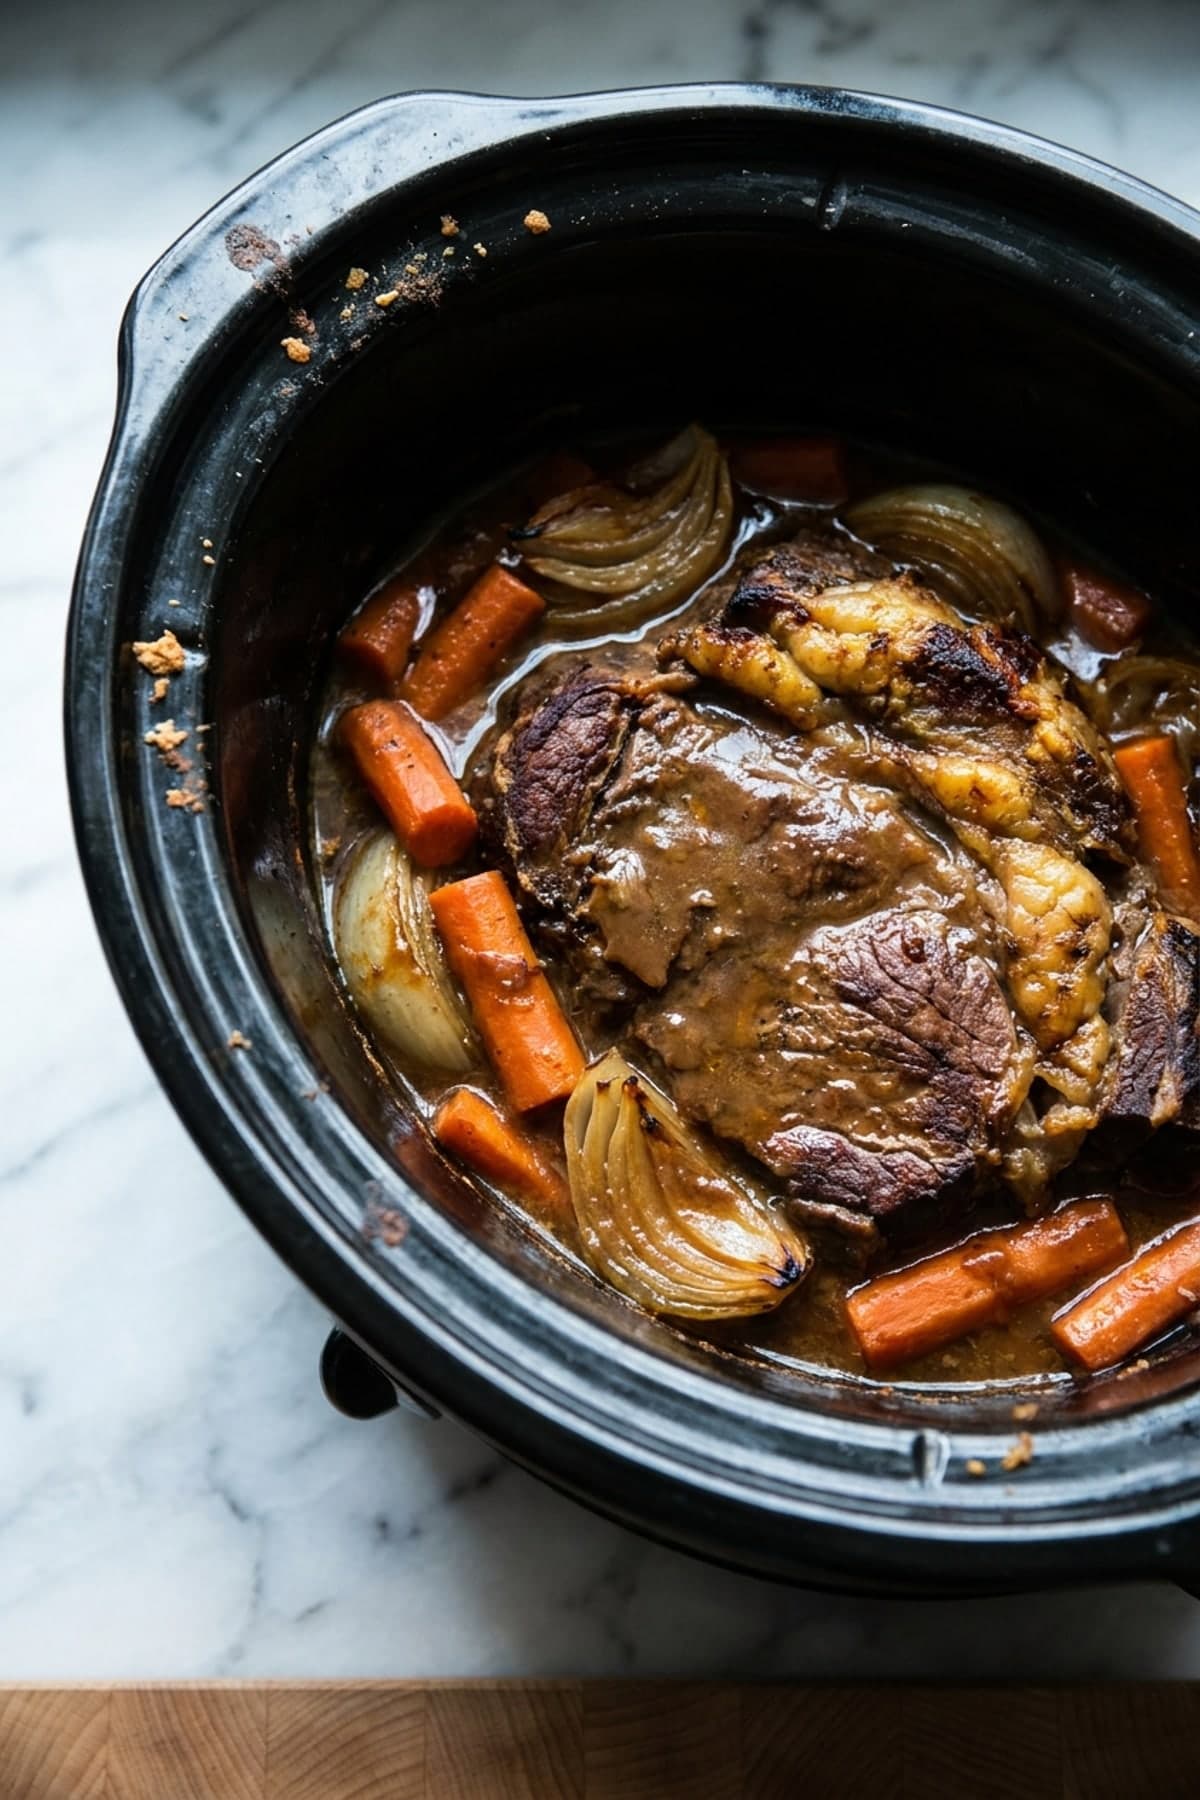
Crockpot Beef Roast with Onion Gravy
8 hr 20 min total6 servings20 min prep8 hr cook
Crockpot beef roast cooks above onions and carrots until fork-tender, then the cooking liquid blends into gravy. No stovetop searing or watching required.
One Pot
- Quick
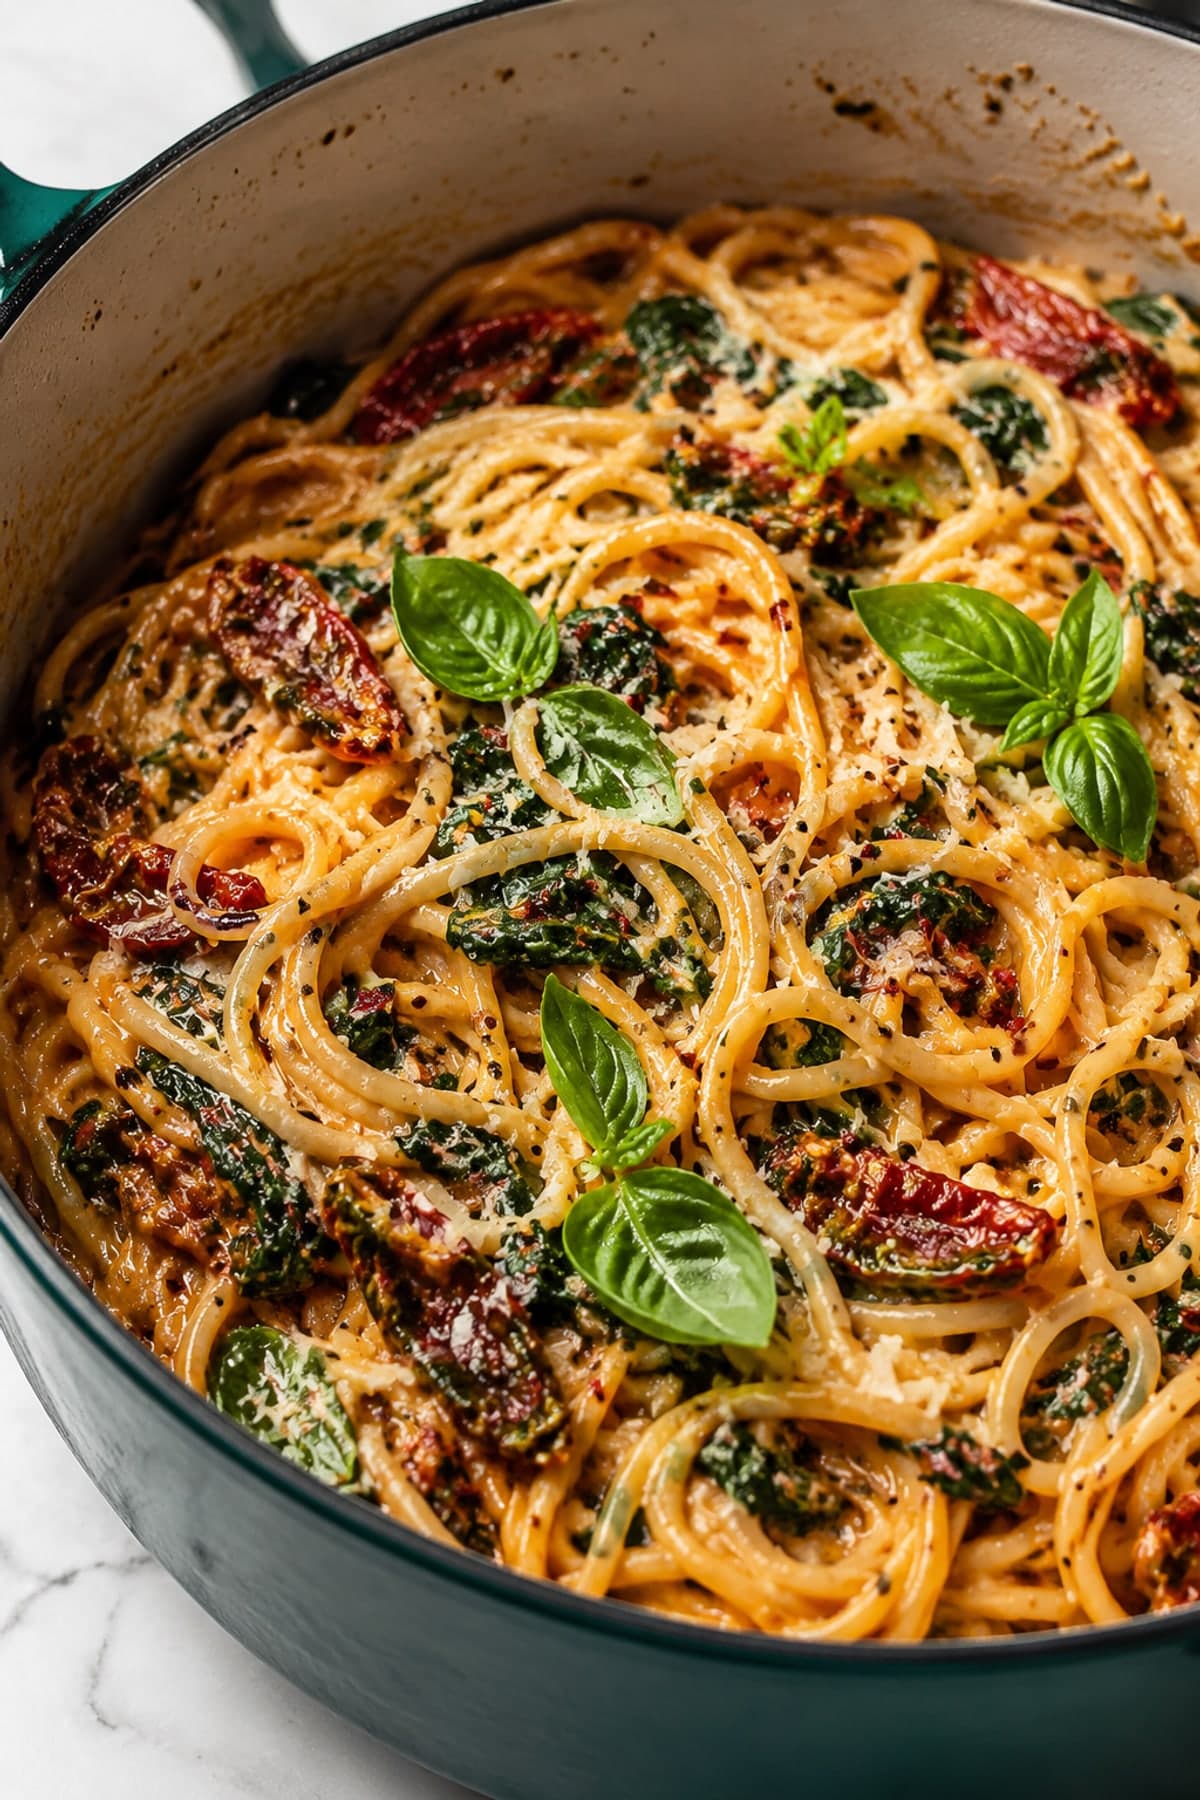
One Pot Tomato Spinach Pasta with Parmesan
30 min total4 servings12 min prep18 min cook
One pot pasta cooks in tomato broth, then finishes with spinach and Parmesan. A measured liquid ratio creates glossy sauce without draining or a second pan.
Air Fryer
- Quick
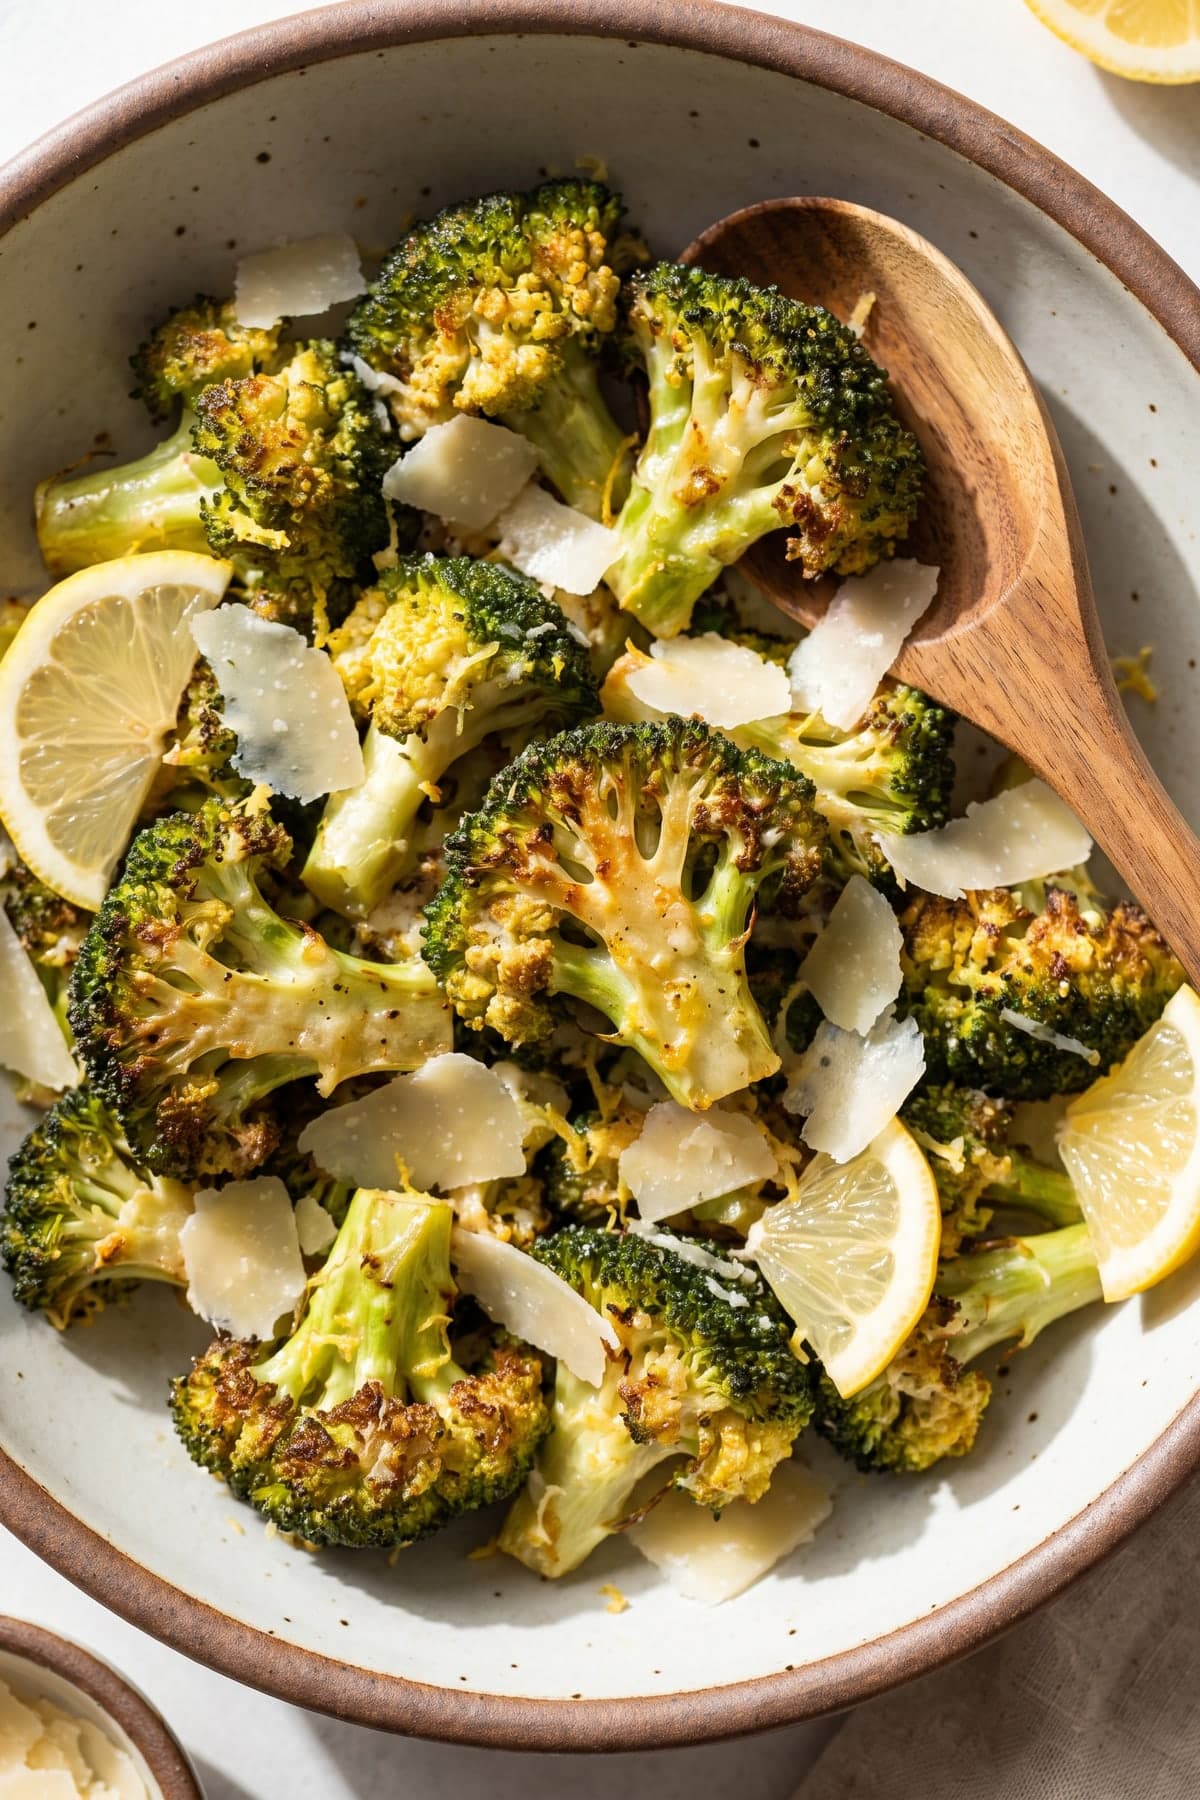
Air Fryer Broccoli Recipes with Lemon Parmesan
26 min total4 servings10 min prep16 min cook
Make crisp-tender air fryer broccoli with garlic, lemon, and Parmesan. One bowl, a roomy basket, and minimal cleanup for dinner.
Air Fryer
- Quick
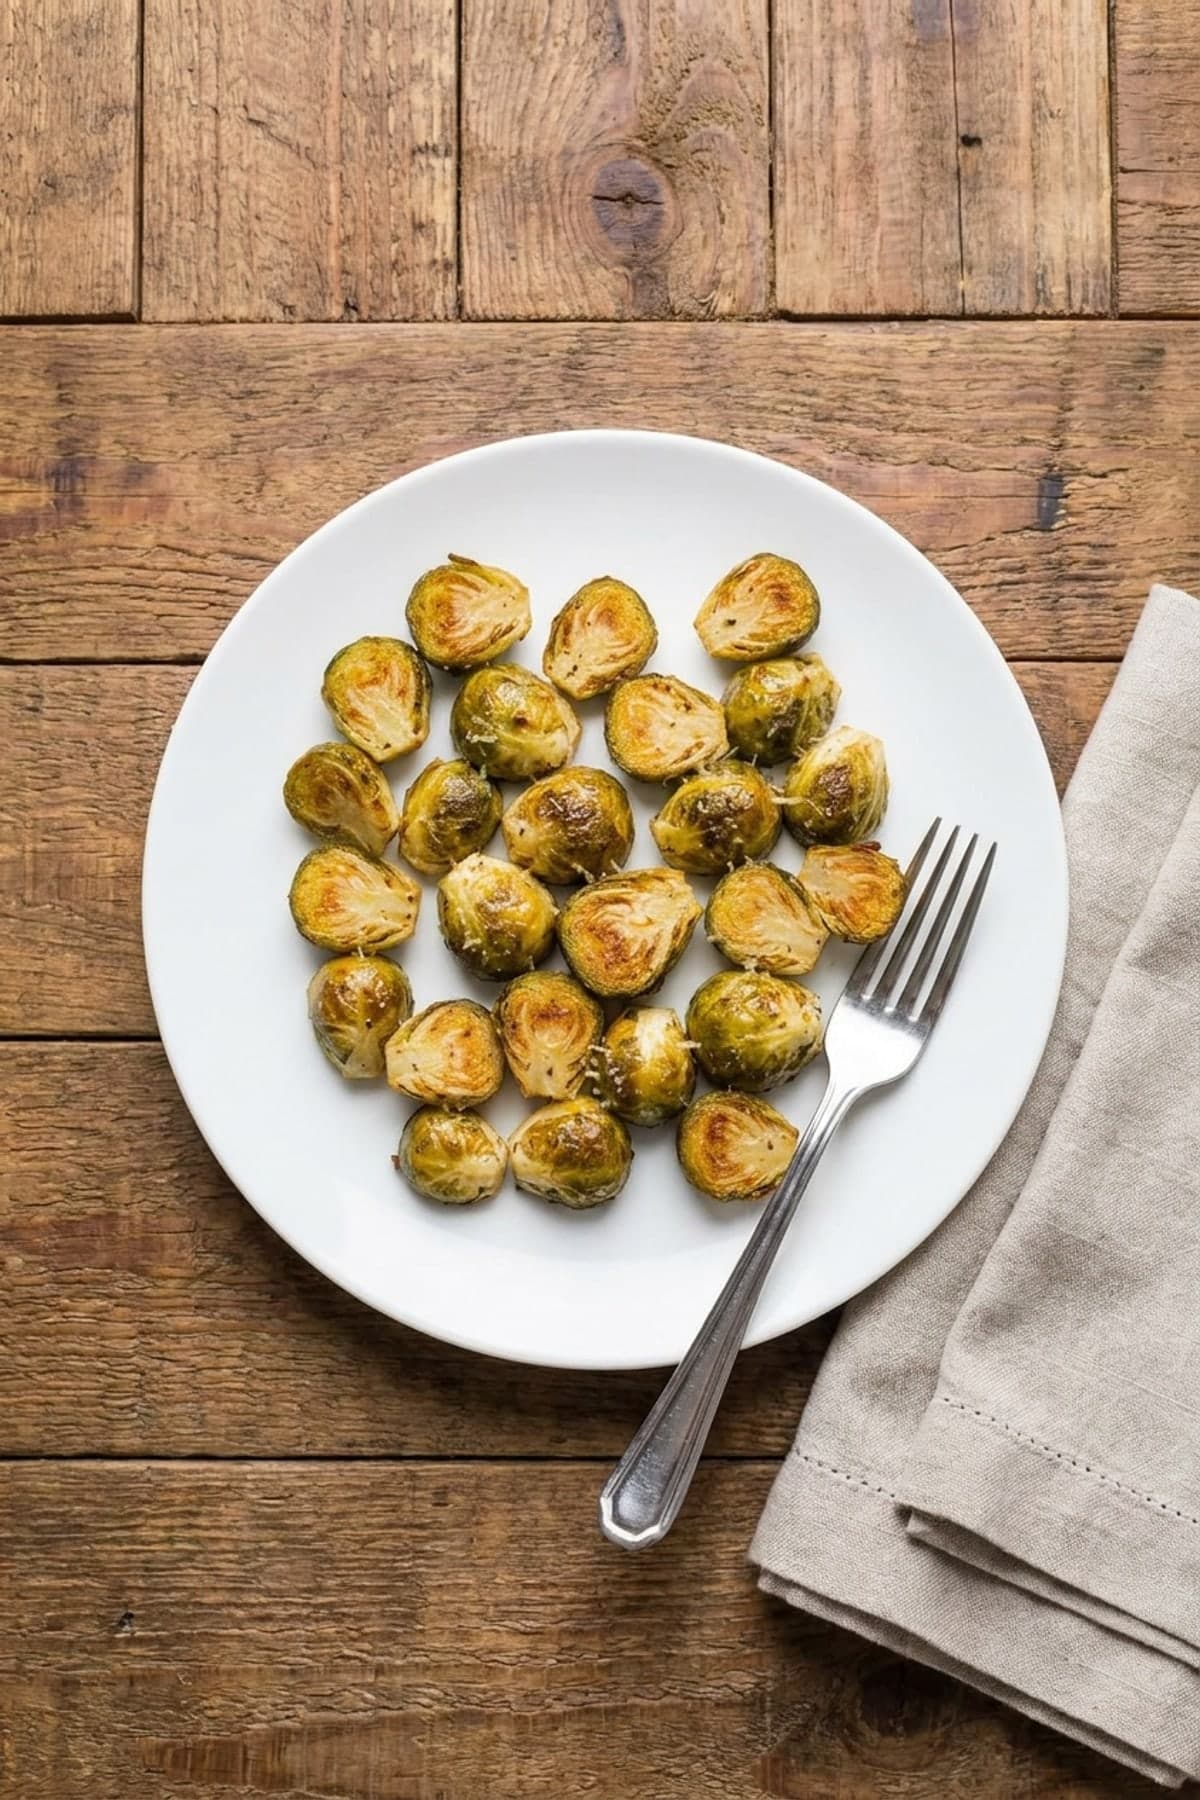
Air Fryer Brussel Sprout Recipes: Parmesan Brussels Sprouts
25 min total4 servings10 min prep15 min cook
Air fryer Brussels sprouts with Parmesan and lemon cook in a spaced basket for browned edges, crisp leaves, and only two dishes to wash.
Air Fryer
- Quick
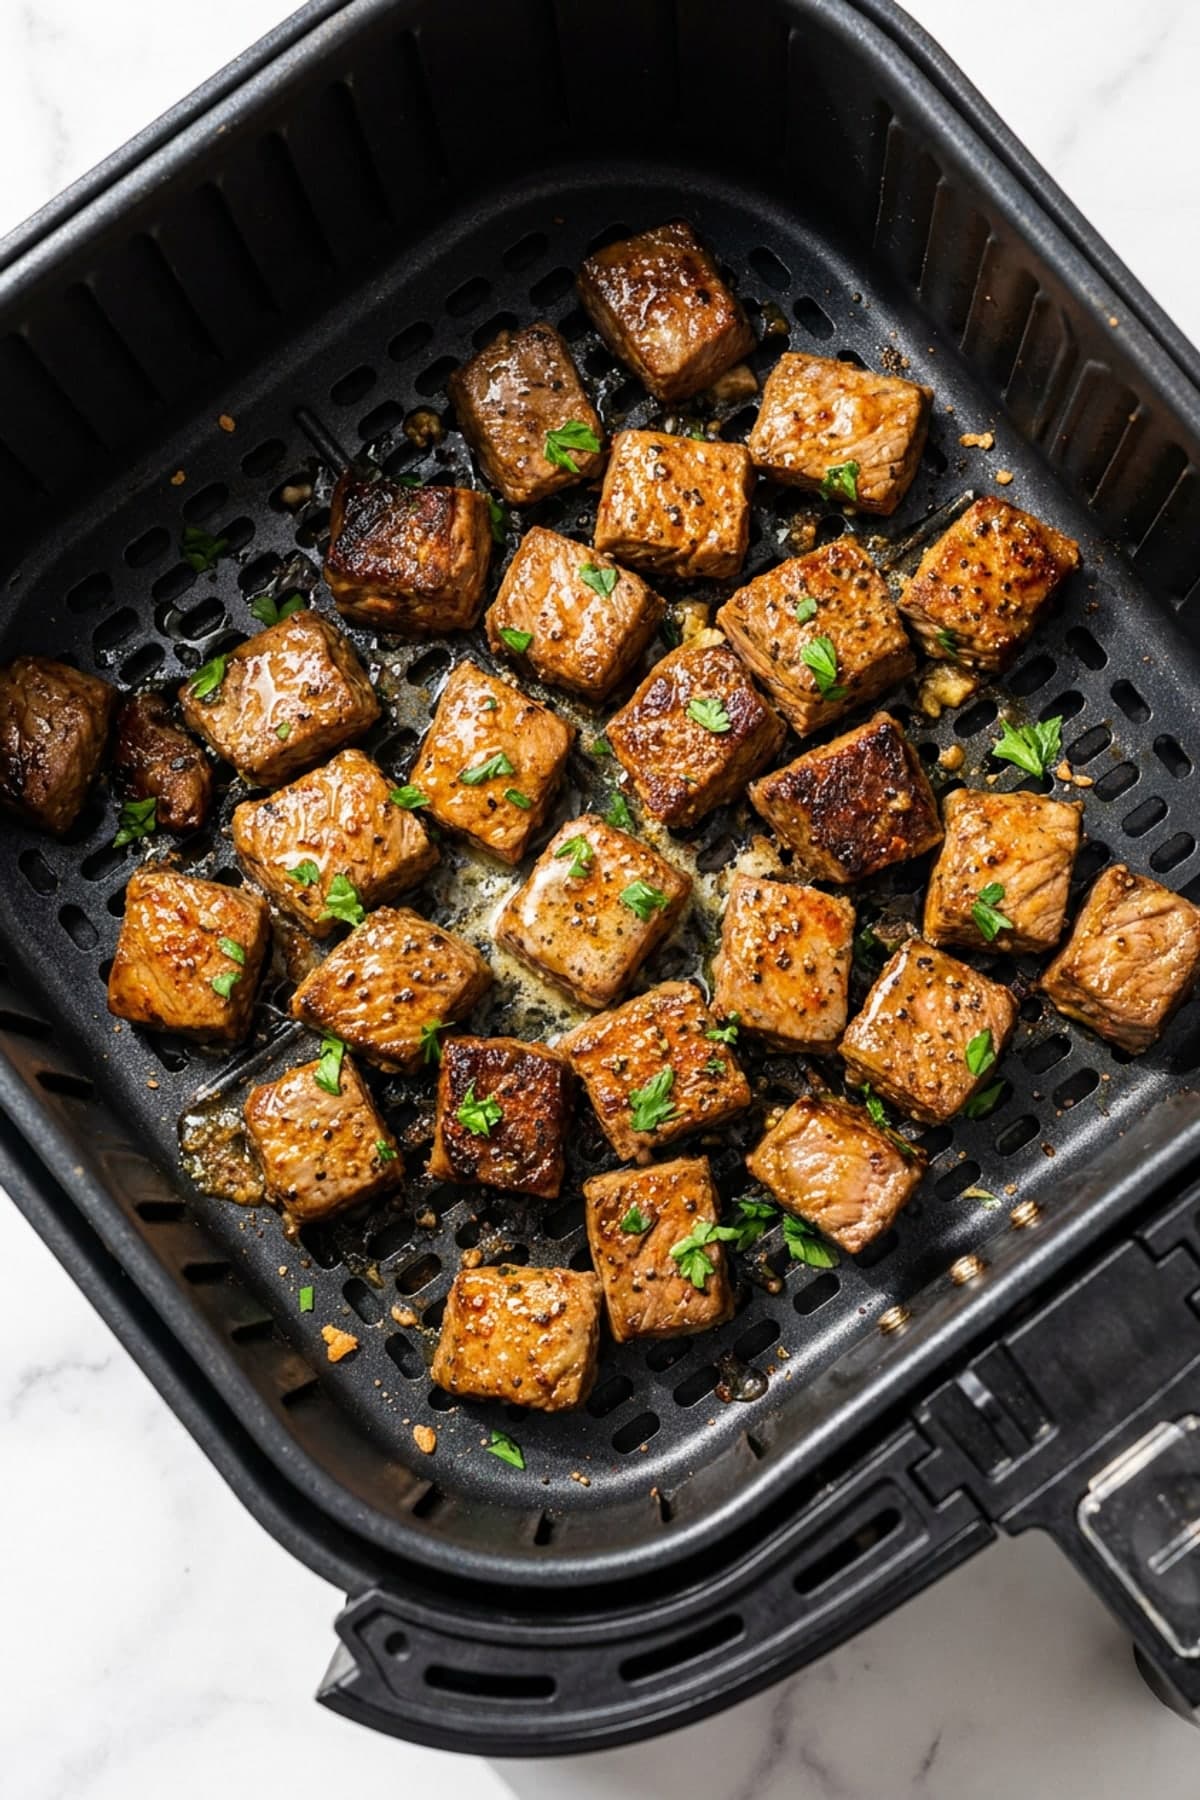
Air Fryer Garlic Butter Steak Bites
25 min total4 servings15 min prep10 min cook
Make garlic butter steak bites with exact appliance timing, practical spacing guidance, low cleanup, and a clear visual cue for the finished texture.